🇺🇸 Equipment needed:
- Hypalon CSM glue 2 part
- Hypalon material
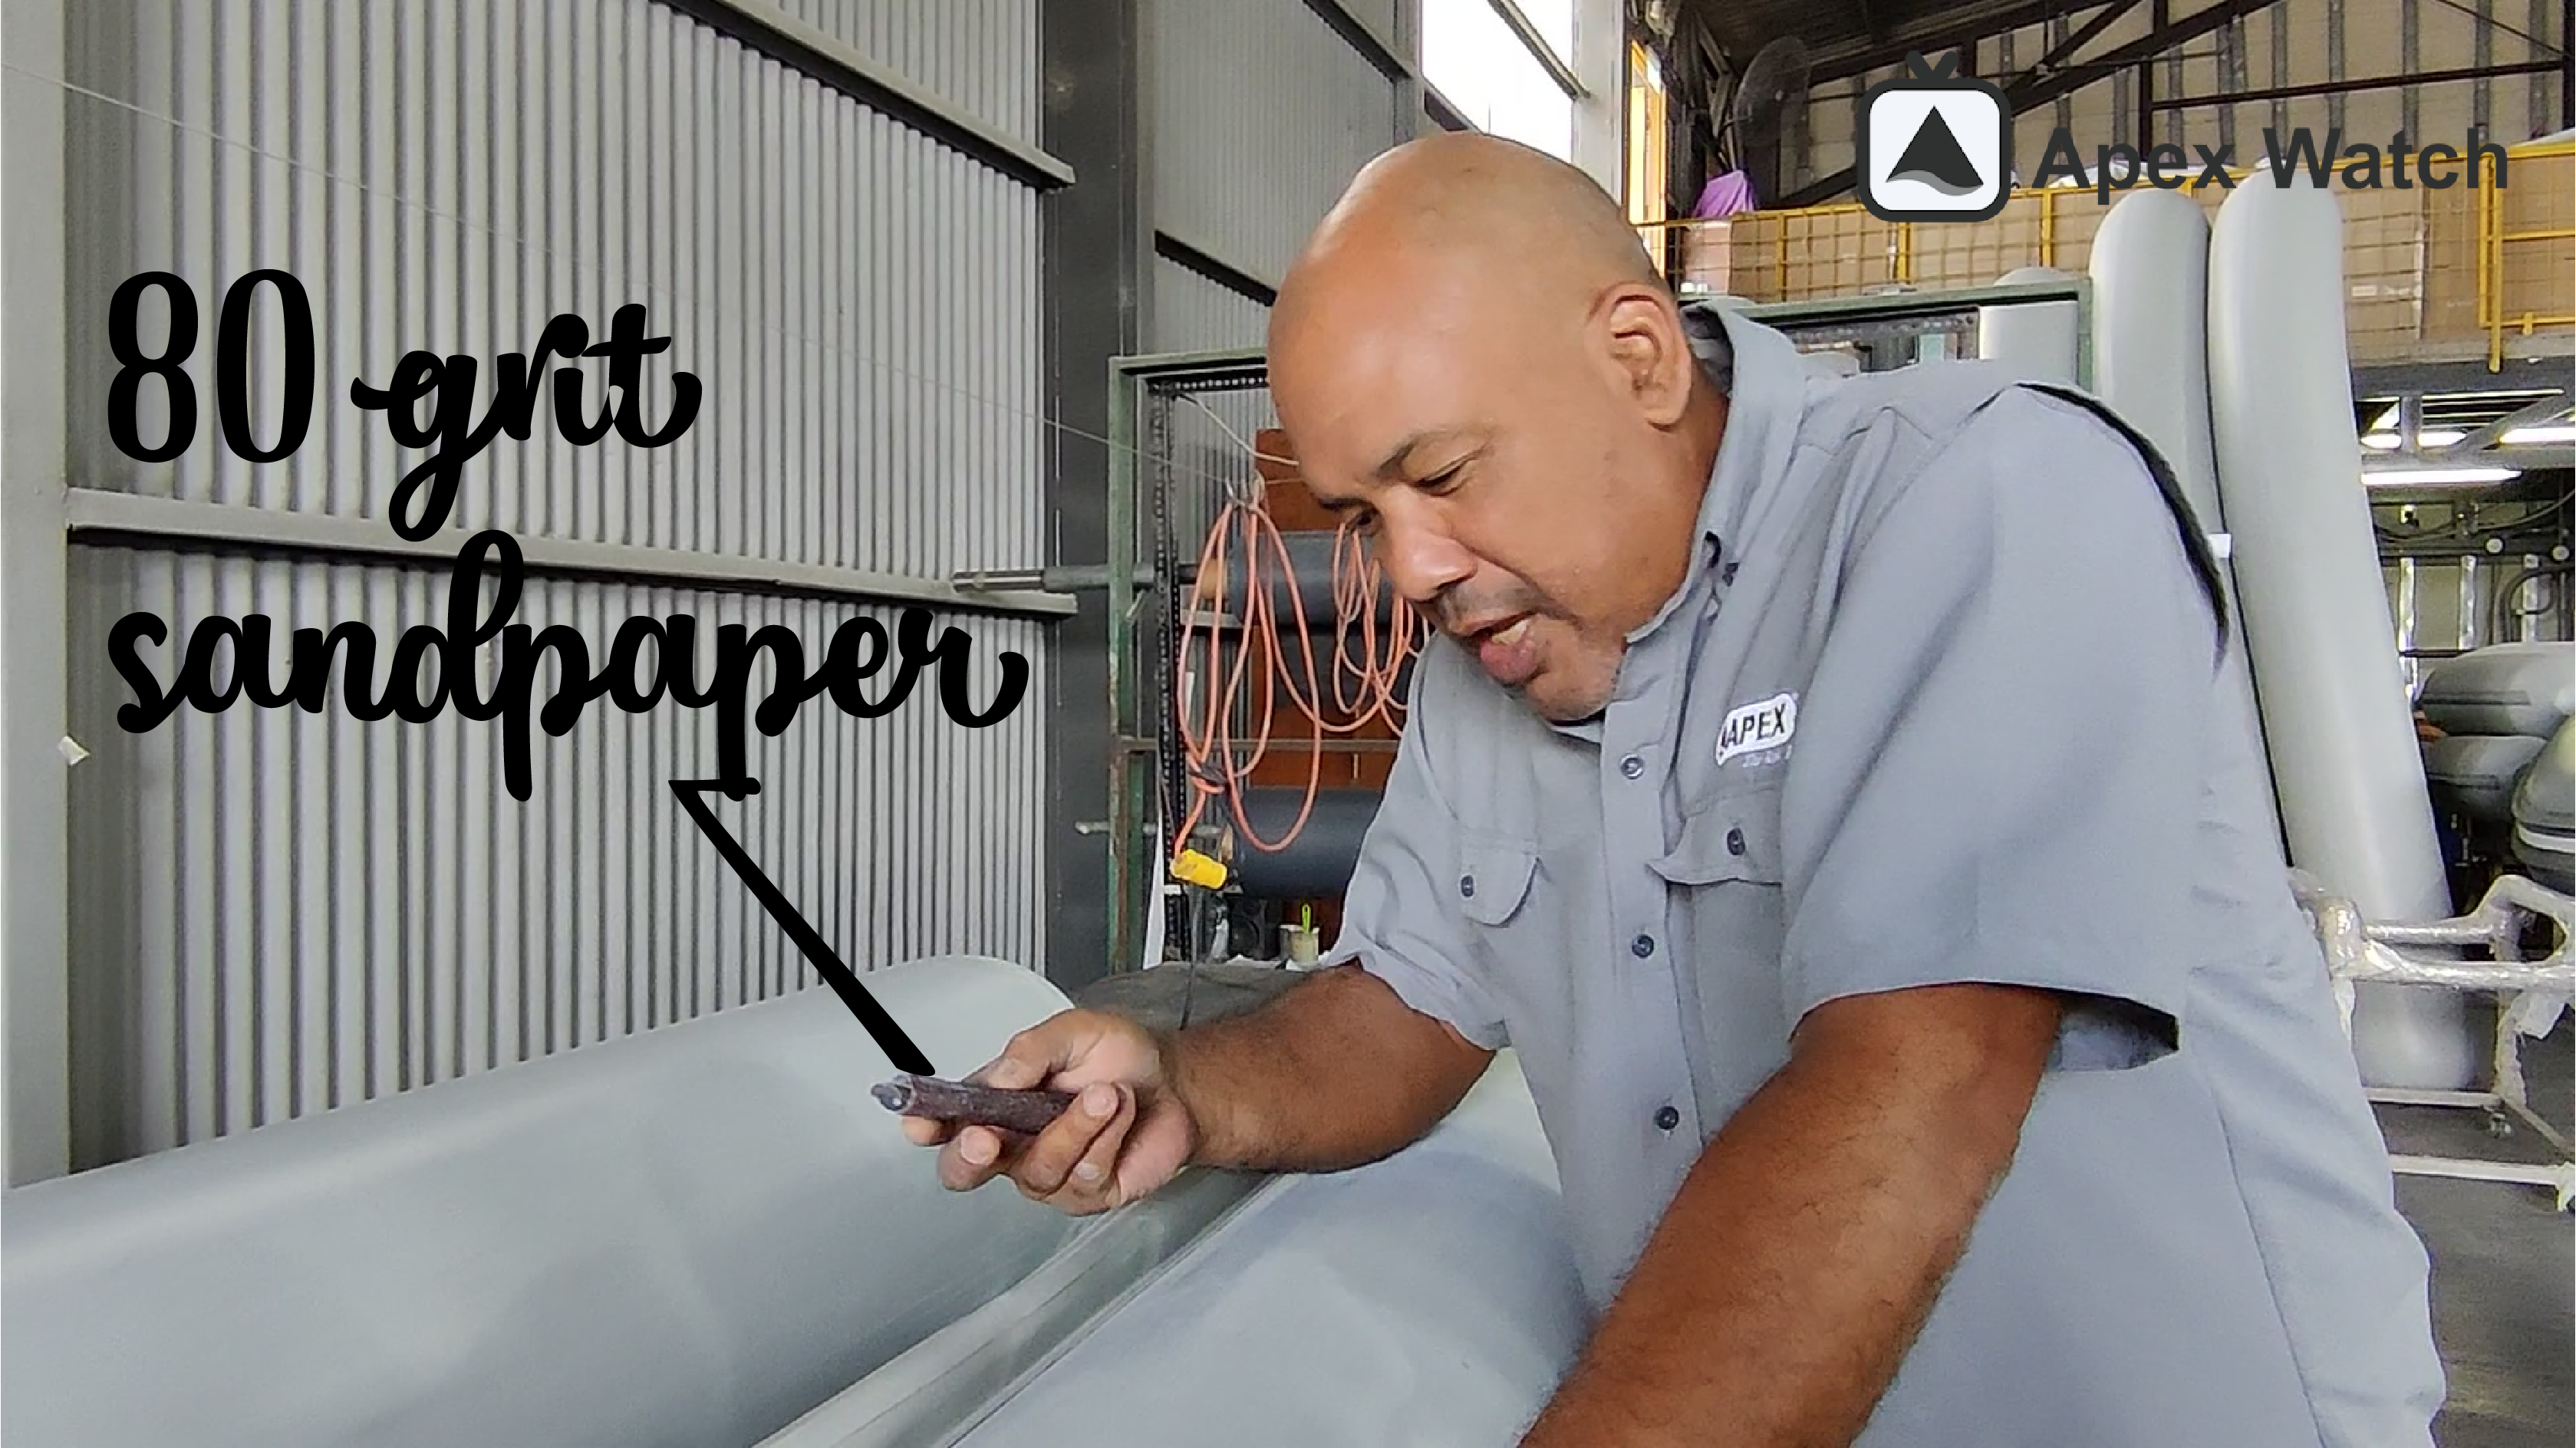
- 80 grit sandpaper
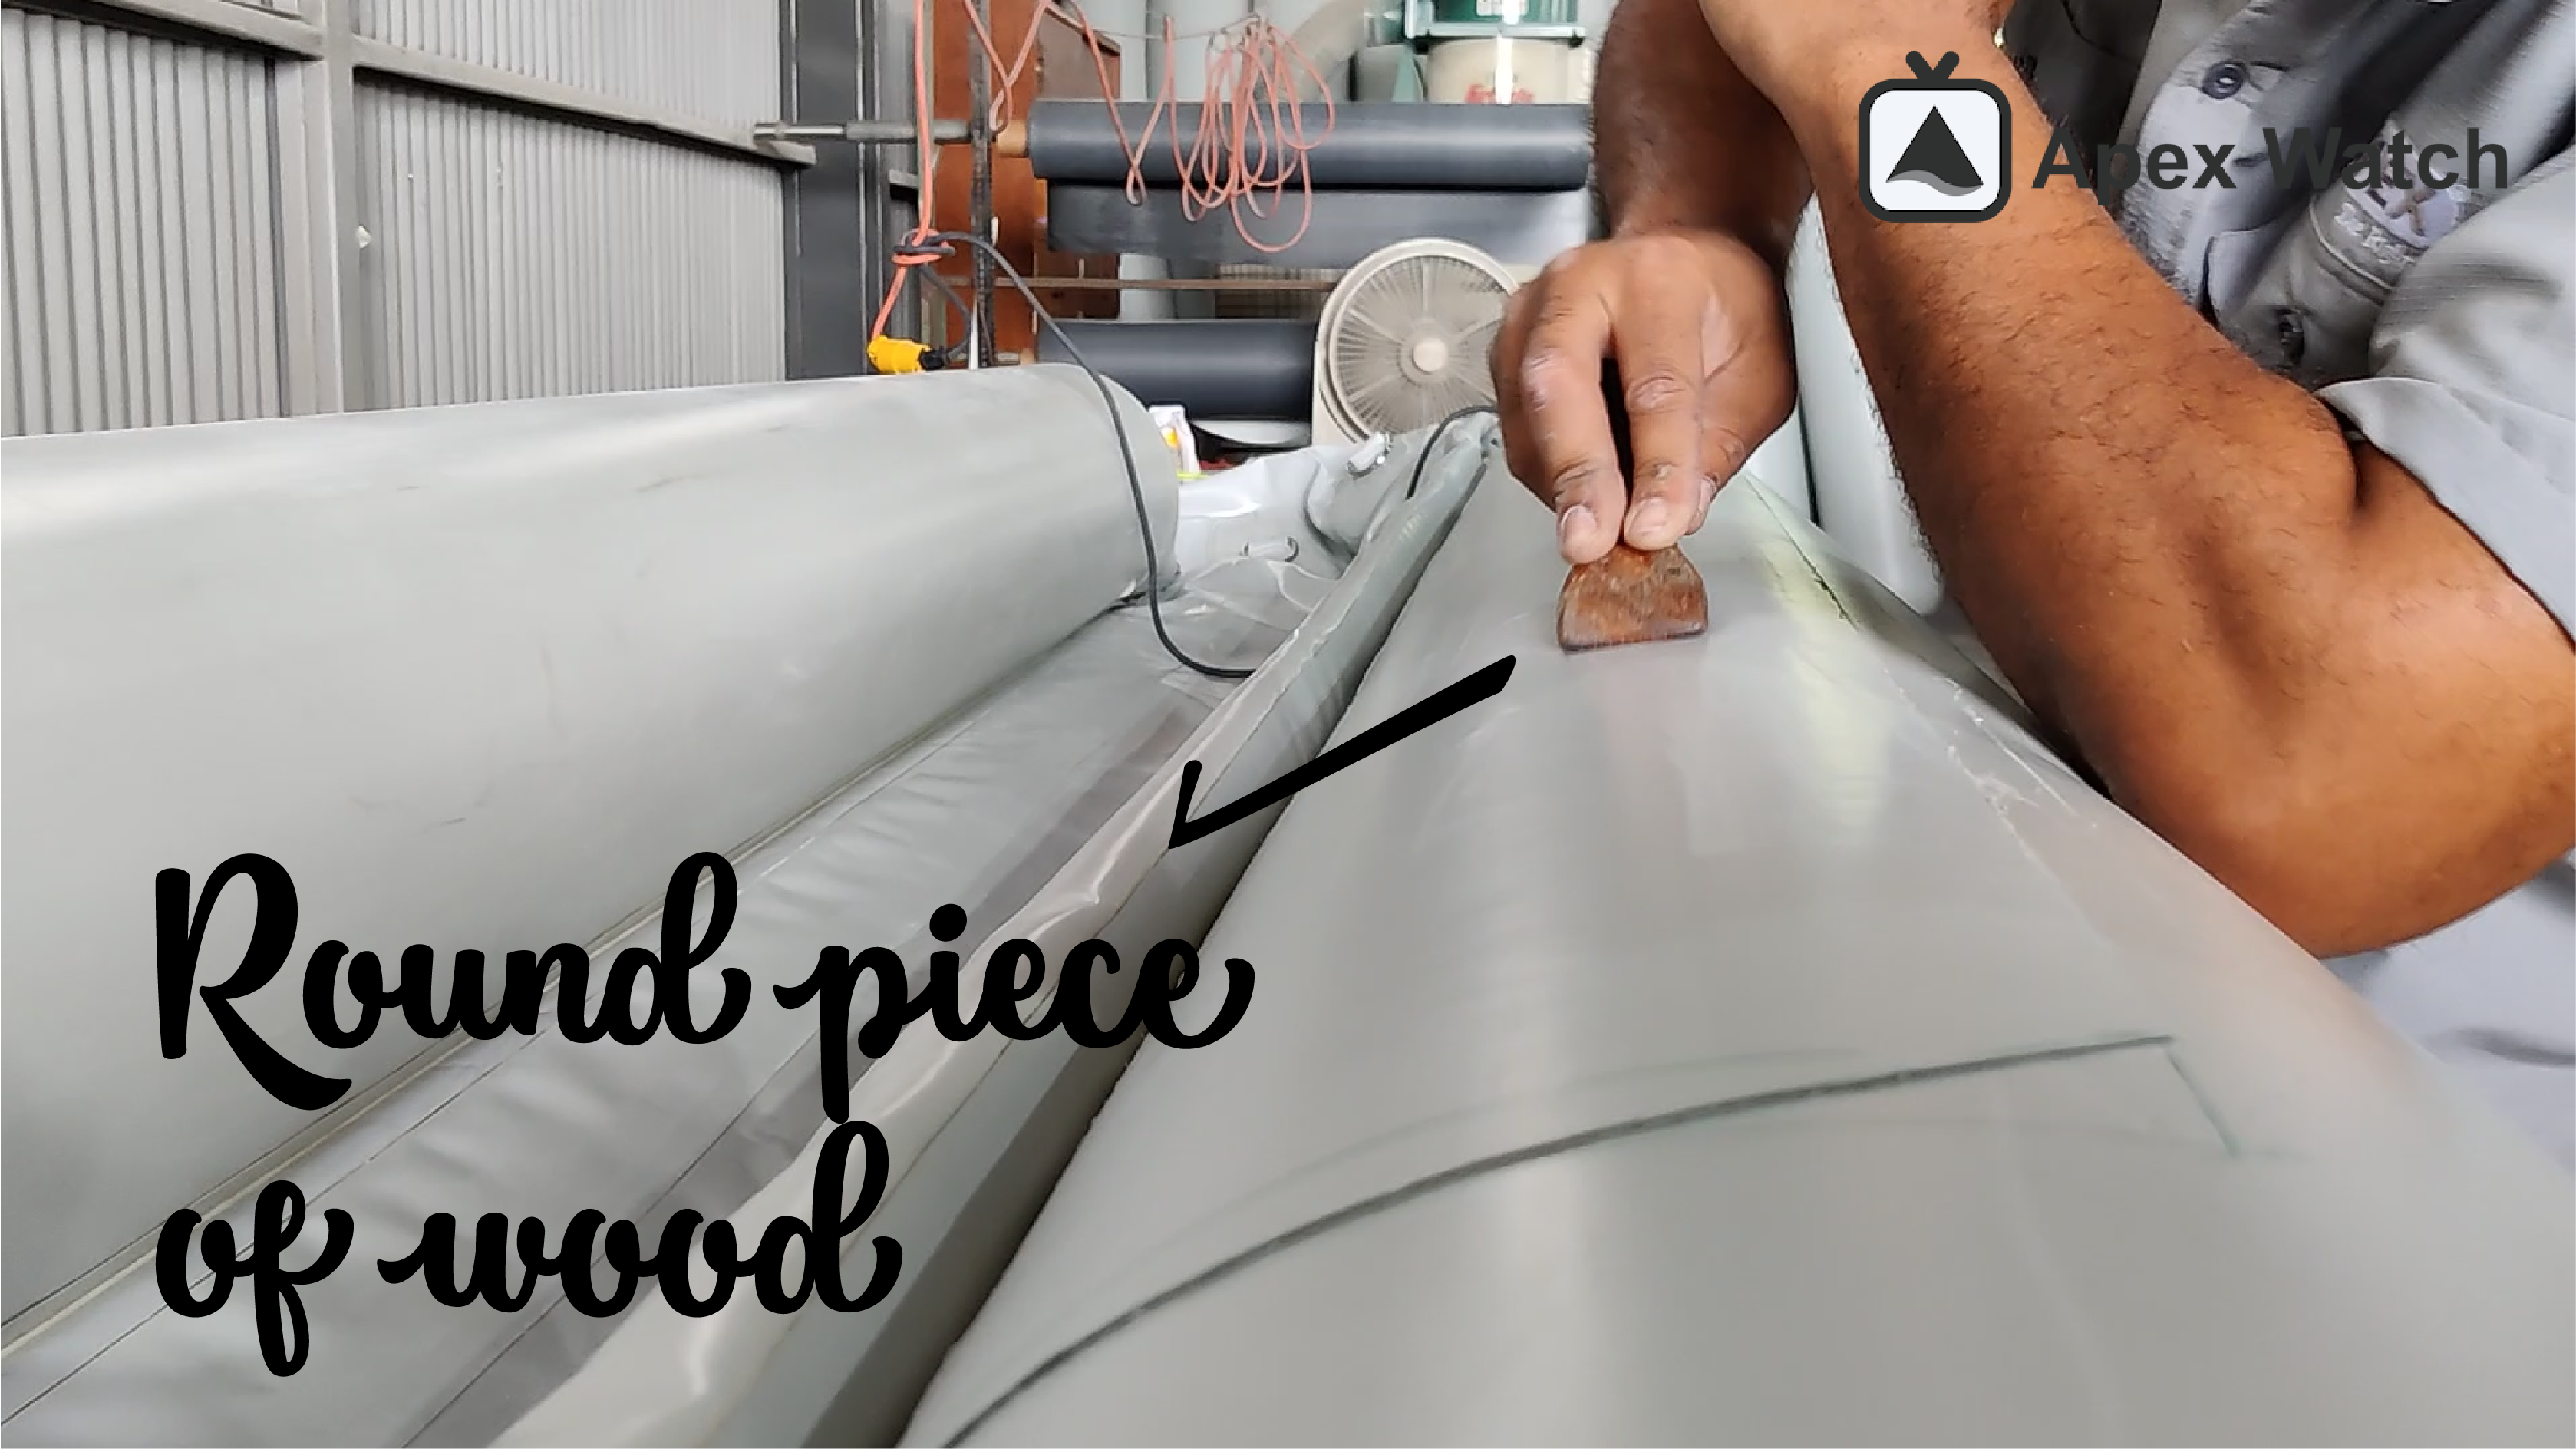
- Round piece of wood (stick)
- Masking tape
- Water & soap
Today we’re going to show you how to repair any inflatable hypalon boat, step by step. For this tutorial, we’re going to use as a demonstration an inflatable hypalon banana boat made by us, however the process applies to any inflatable made with hypalon.
Before starting to repair, we recommend re-checking all the inflatables to detect any other leaks or damage areas. For this step we use water and soap, applying it to all the surfaces and valves. If we detect some small bubbles in different areas, this means that we have multiple leaks.
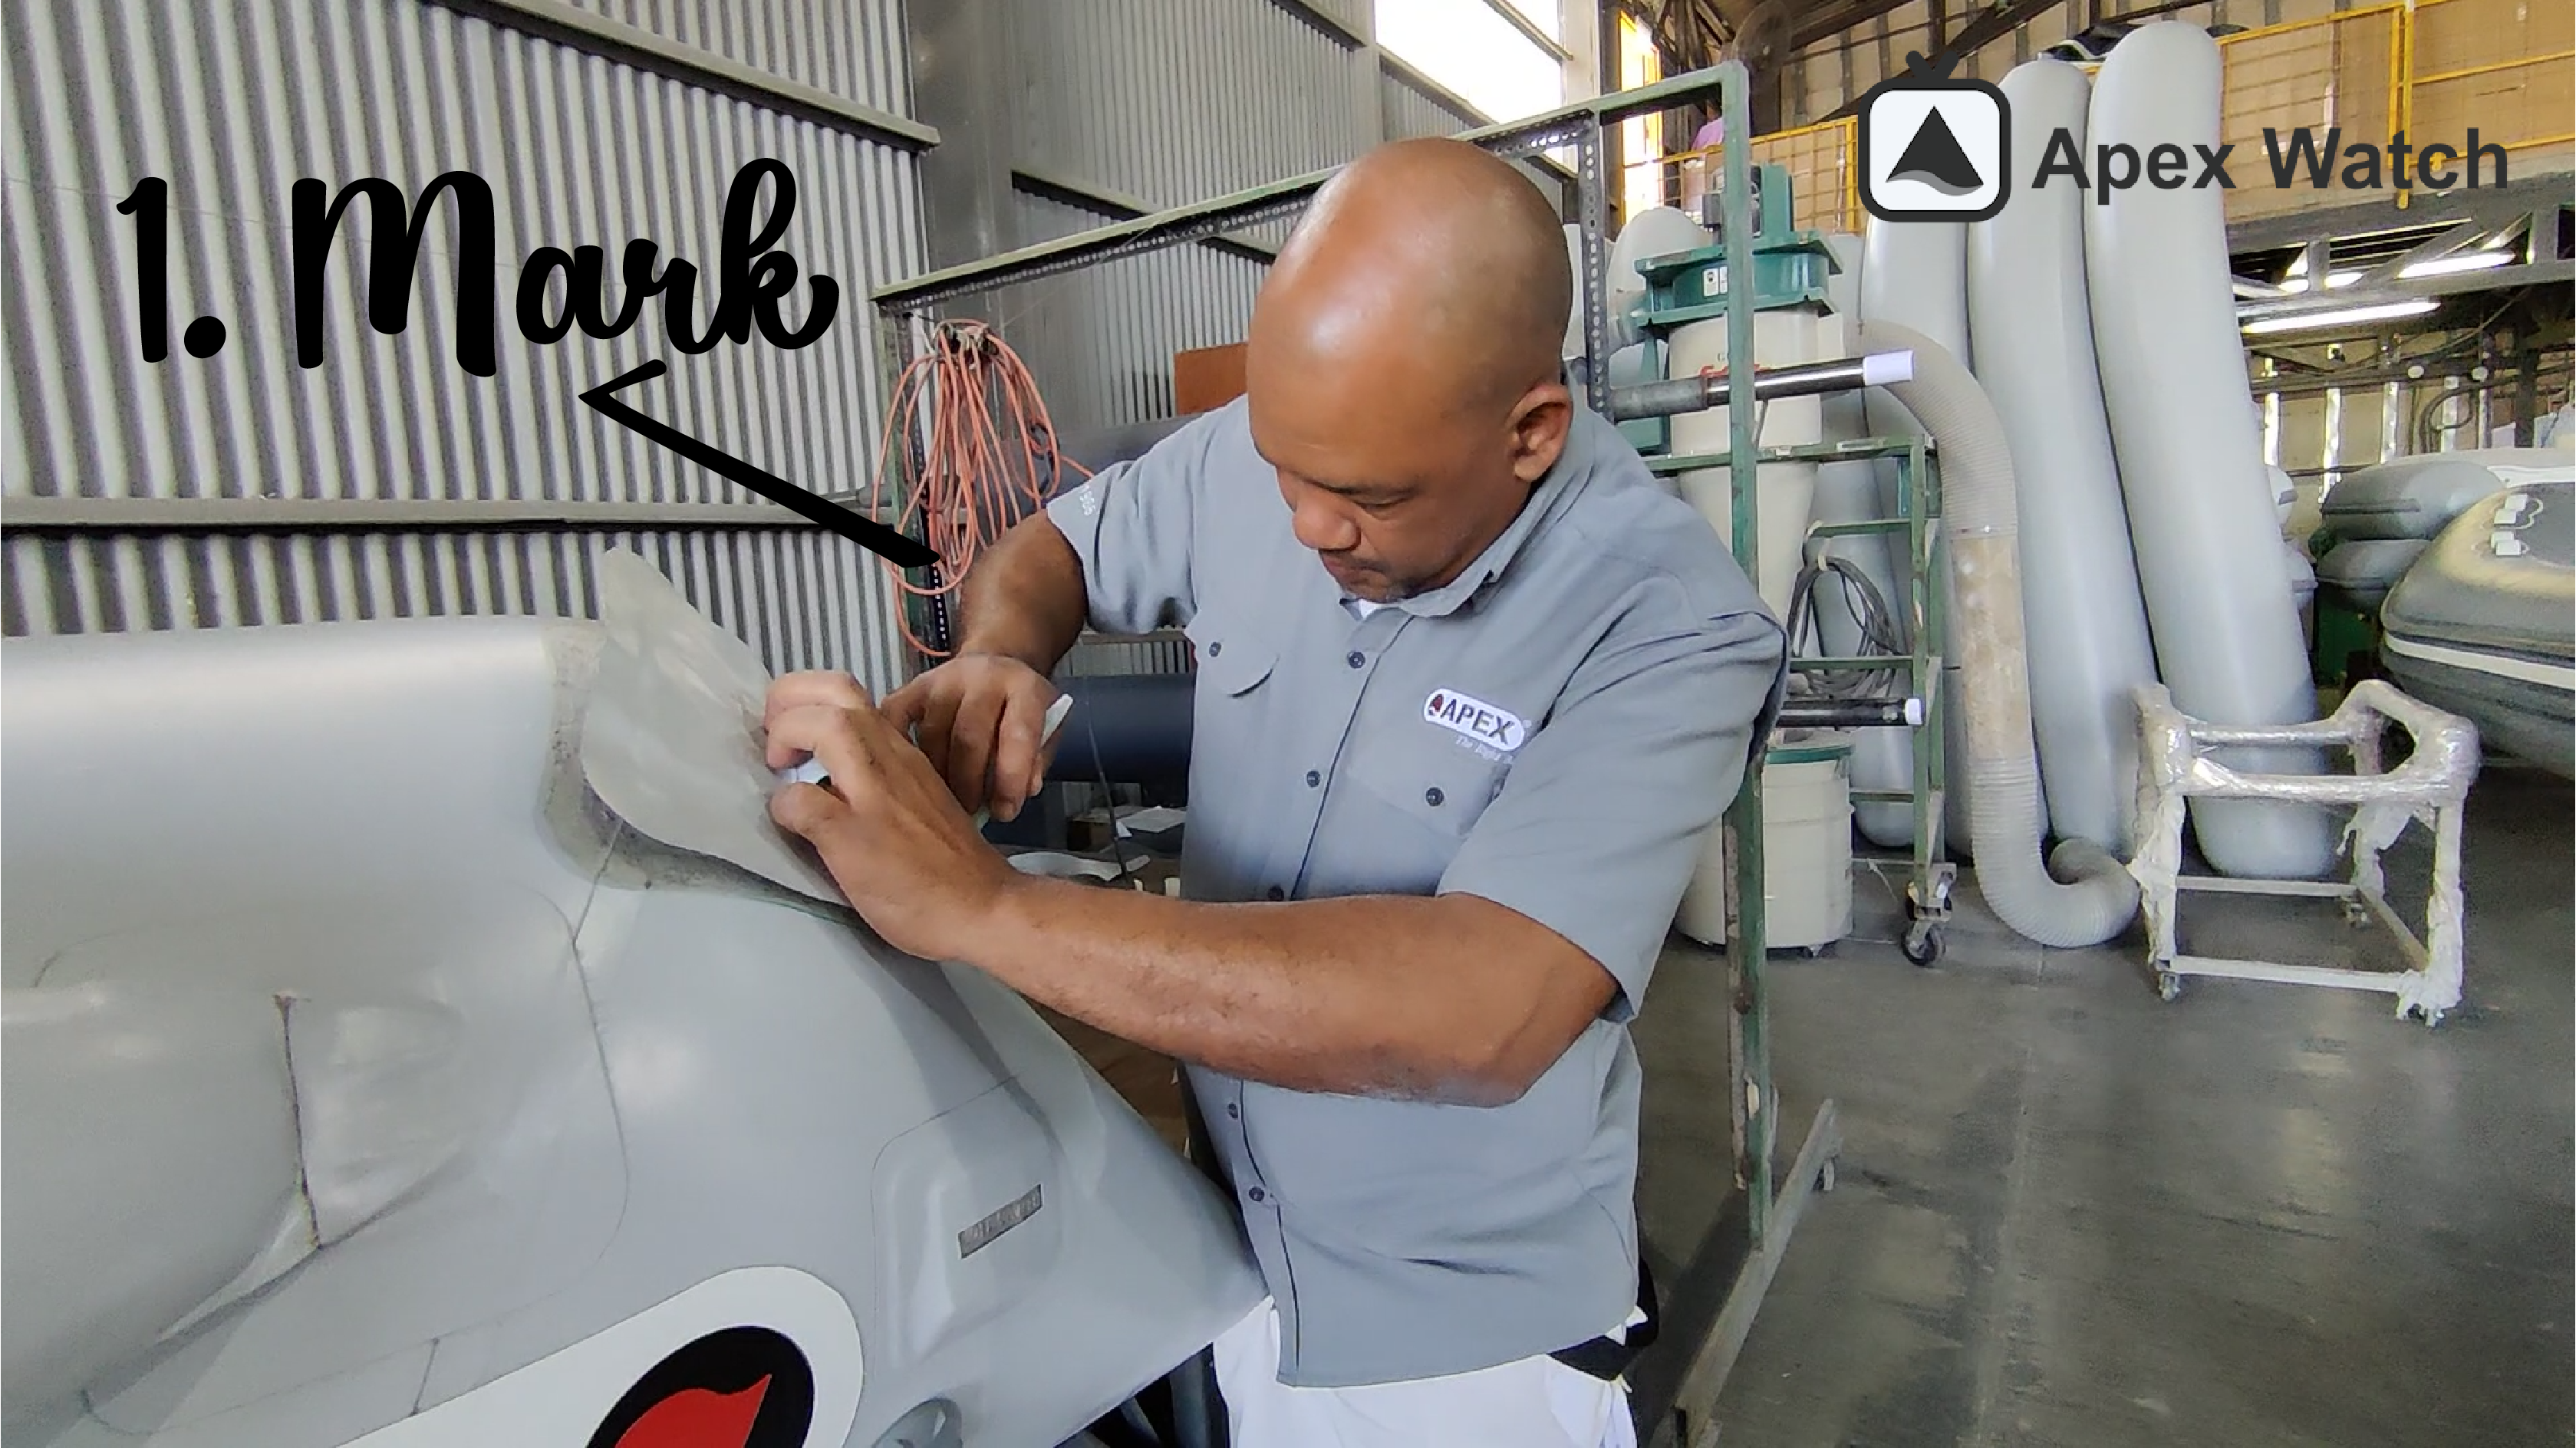
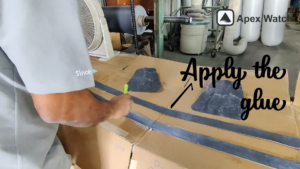
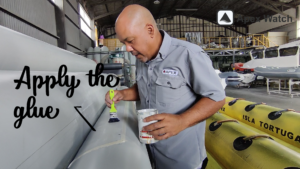
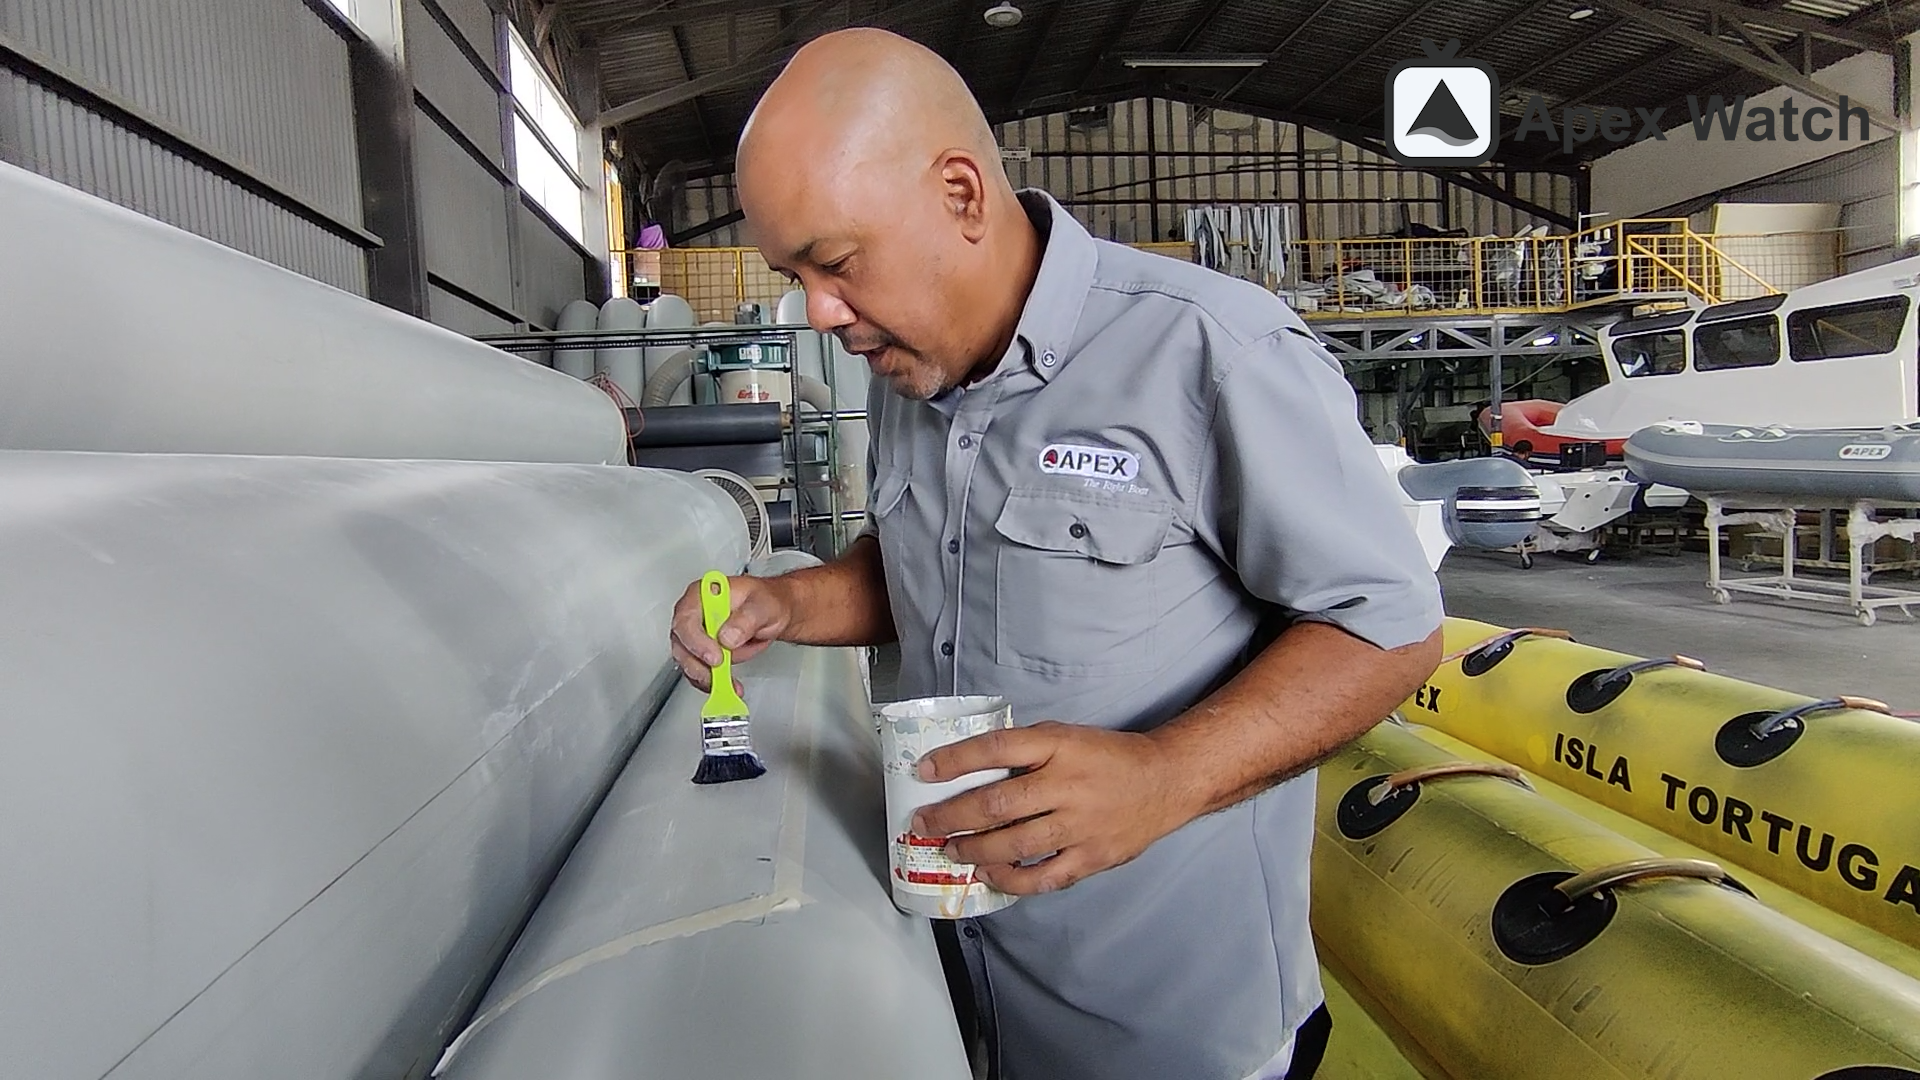
We take a round or square piece of hypalon that would cover the leak. We mark with masking tape all the damaged zones with the same shape as the hypalon patch. We proceed to eliminate all the impurities from the hypalon material with 80 grit sandpaper within the marked area. We sand this area and the hypalon patch until the material has lost all its shine but without getting too deep into the hypalon layers. Then we clean both areas really well with acetone or similar product so the surface is perfectly free of any hypalon dust. Now we can start to apply the Apex hypalon glue or a similar CSM hypalon glue on the sanded area and the patch. We then place another layer of glue after a few minutes whenever the first layer is dry. We make sure not to apply too much to avoid little pellets.
-
- Work team Apex Boats Tutorial
-
- Work team Apex Boats Tutorial
We wait until the hypalon glue dries. Then, the next step it’s to paste the patch to the inflatable dedicated area. We make sure to flatten the patch to the tube with a round piece of wood removing all possible air bubbles in between. We recommend you to deflate the tube and place a solid surface underneath the patched area to help you make a hard bound.
That’s it, you have completed the patching process ! We are going to show you more interesting tutorials, subscribe to our mailing list and stay tuned.
Watch the video: https://youtu.be/8erCC5laUXo
Spanish bellow 🇨🇷
🇨🇷 Lo que vas a necesitar
- Pegamento para Hypalon
- Parches de Hypalon
- Una lija de 80 aproximadamente
- Una pieza redonda de madera
- Masking tape – Teipe – Cinta Adhesiva escolar
- Marcador
- Agua & jabón
El día de hoy le enseñaremos cómo reparar cualquier inflable hecho con Hypalon, paso a paso. Para este tutorial, utilizaremos como demostración una banana inflable de Hypalon hecha por nosotros, sin embargo, el procedimiento aplica para cualquier inflable hecho de Hypalon.
Antes de iniciar con la reparación, se recomienda revisar todo el inflable para detectar si hay otras zonas a reparar. Para ello, colocamos agua y jabón en un envase, y comenzamos a aplicar por todo el inflable incluyendo válvulas. Si observamos burbujas en diferentes zonas, esto significa que tenemos varias fugas. Procedemos a marcarlas con un marcador y la cinta adhesiva escolar.
Una vez tengamos marcadas las zonas de reparación, con una lija de 80 aproximadamente comenzamos a eliminar las impurezas que tenga el material. Lijamos la zona hasta que pierda todo su brillo pero sin desgastar el Hypalon. Luego de lijar, se procede a aplicar el pegamento Apex especial para Hypalon o cualquier otro que sirva para Hypalon.
Hay que aplicar dos capas de pegamento Apex especial para Hypalon, la segunda capa se aplica luego de 10 a 15 minutos de reposo. Lo importante es esperar a que seque para aplicar la segunda mano. Esto mismo se hace con los parches que se utilizaran. Una vez aplicada la segunda capa, esperamos que el pegamento seque.
Procedemos a pegar el parche sobre el inflable. Le pasamos la mano para quitar todas las burbujas que pueda tener, se procede a majadear con una pieza redonda de madera. Aplicamos calor y seguimos majadeando hasta que este completamente pegado.
Y ¡listo! Así de fácil se repara un inflable hecho de Hypalon. Haremos más tutoriales como este, así que suscríbete a nuestro boletín y está al tanto de lo que publiquemos.
Deja tu comentario